![]()
LRTimelapse provides the most comprehensive solution for time lapse editing, keyframing, grading and rendering.
No matter if on Windows or Mac, or which camera you use: LRTimelapse will take your time lapse results to the next level.
- Keyframe and grade timelapse sequences in an all-raw-file-based workflow, together with Lightroom Classic.
- Animate and keyframe more than 400 Lightroom tools.
- Create perfect Day-to-Night and Night-to-Day timelapse transitions with the Holy-Grail-Wizard.
- Smoothen your timelapses with the lossless Multi-Pass-Visual Deflicker and the special LRT Motion Blur blending technology.
- Supports any camera that is supported by Lightroom.
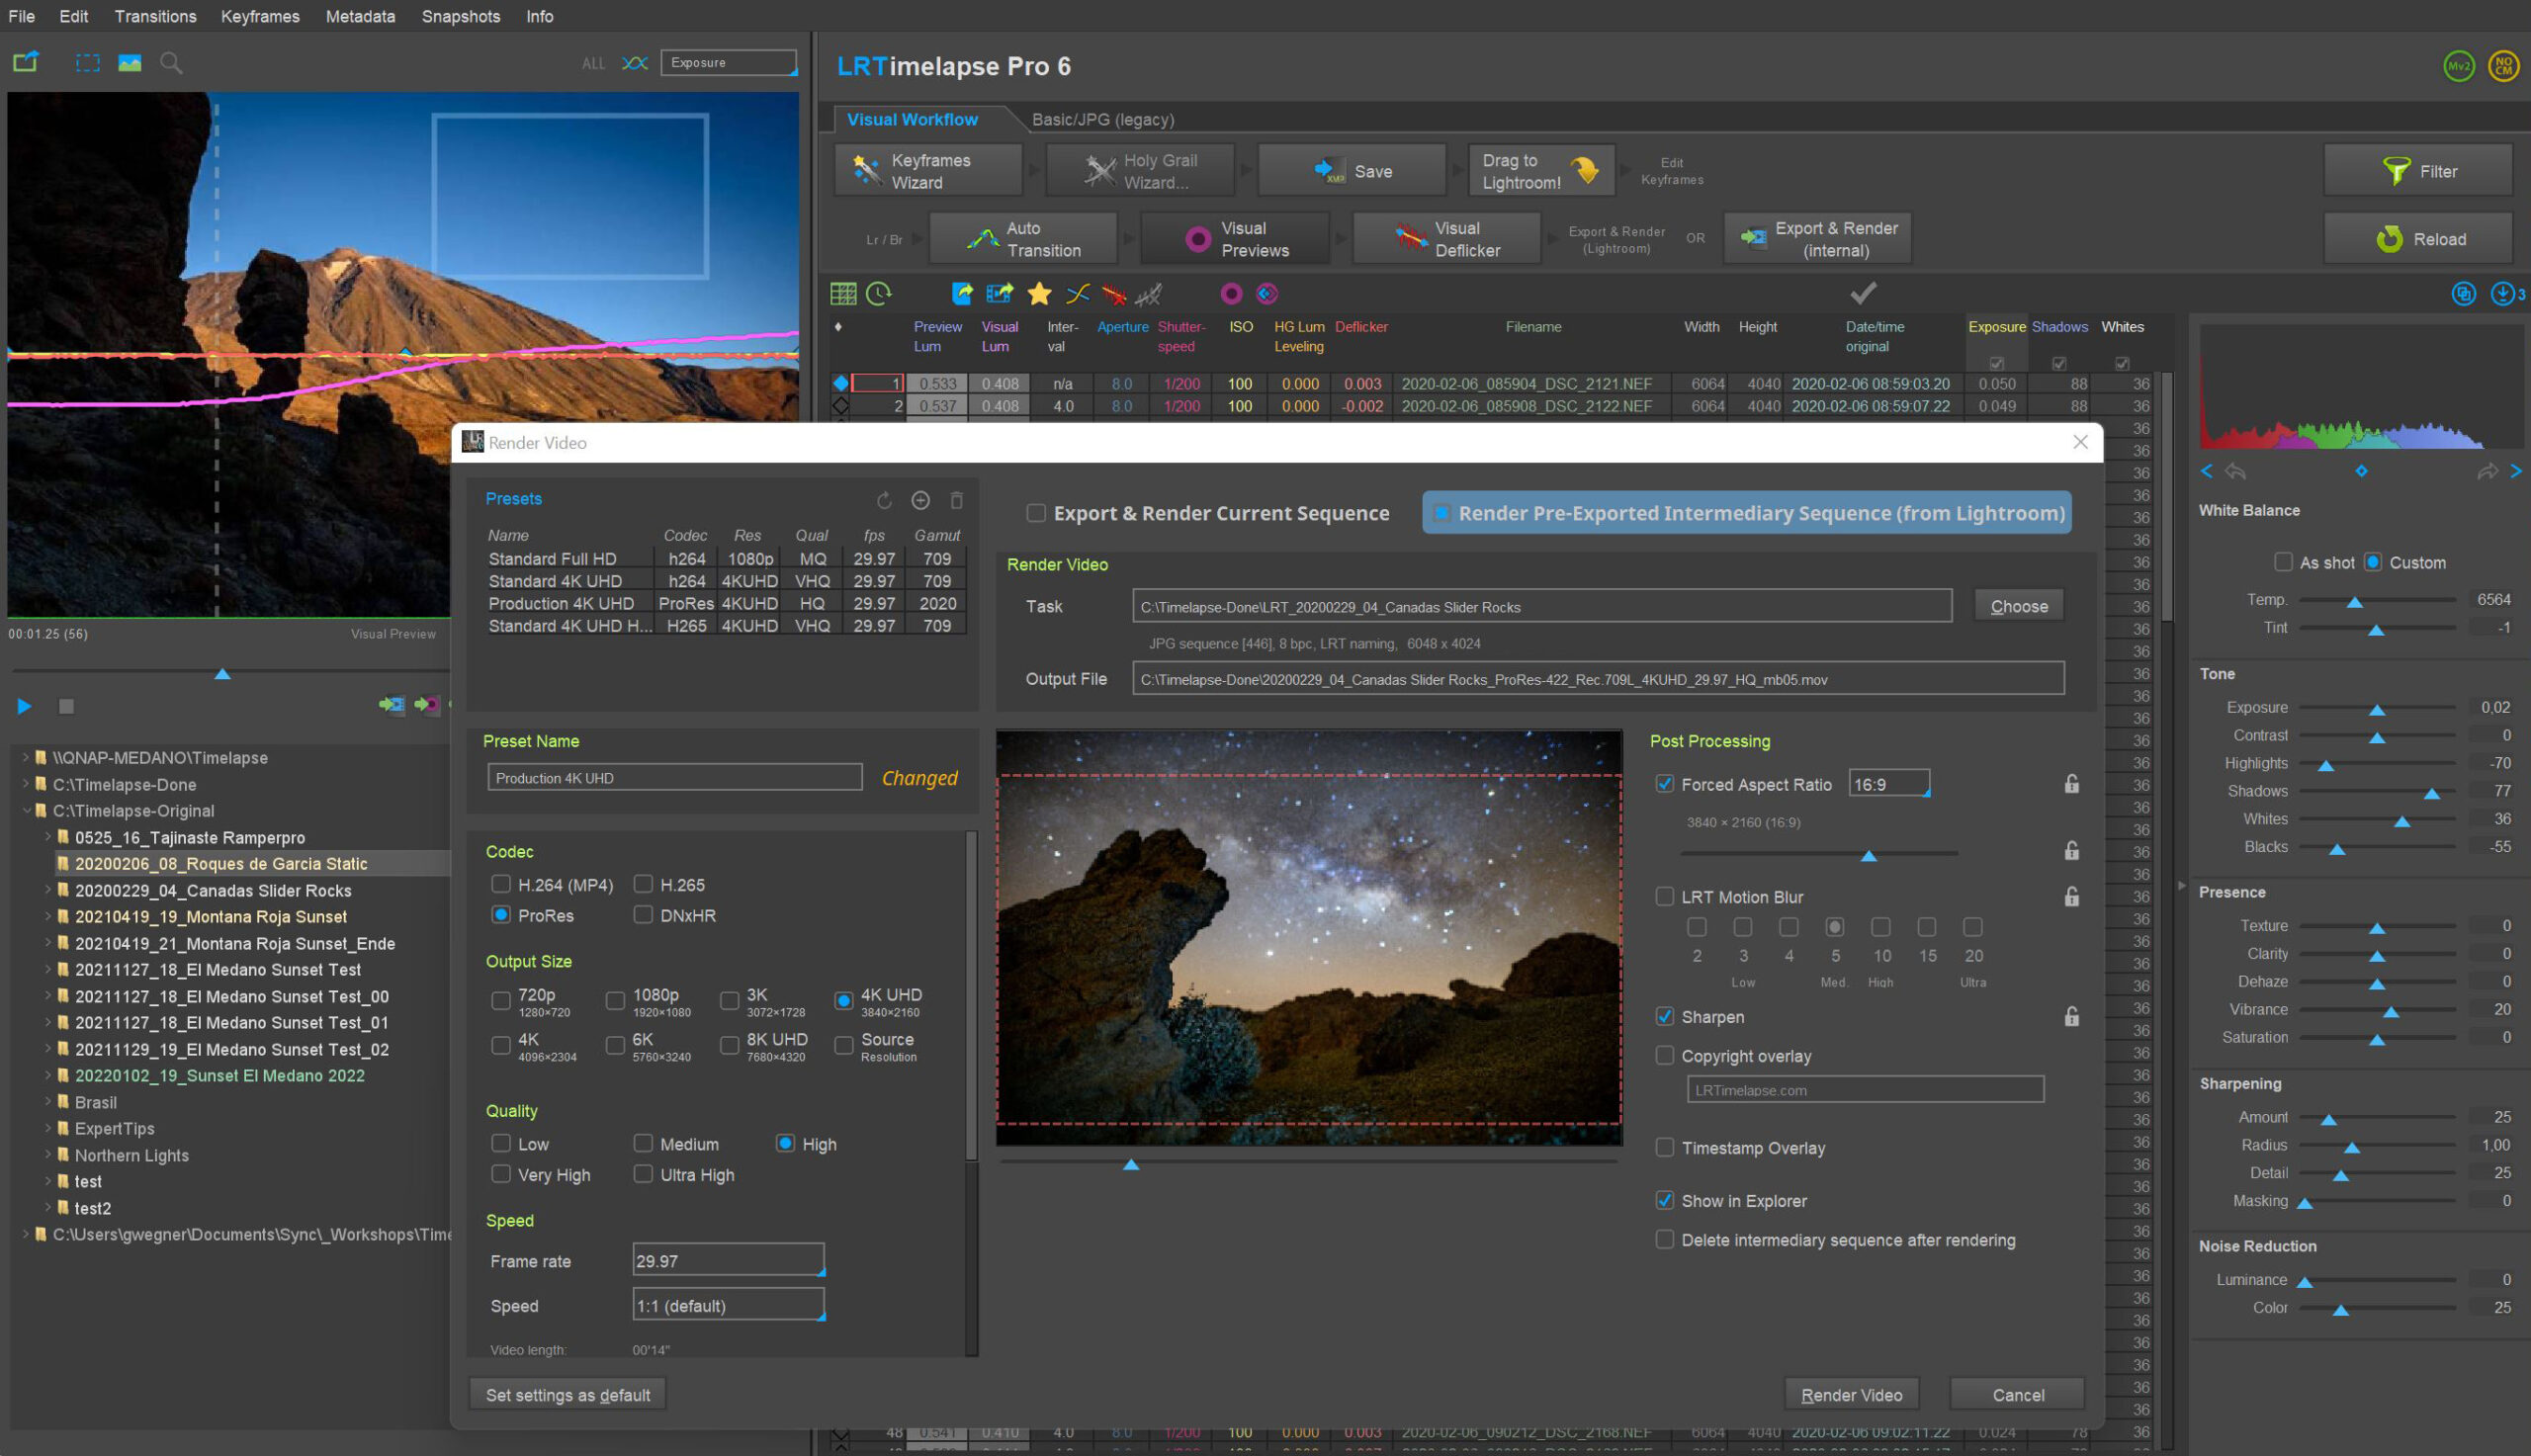
- Render the final clips in different formats like MP4/H.264 and H.265/HEVC and also professional formats like Prores and DNxHR.
- Render in resolutions up to 8K and beyond.
- Best possible color rendition due to lossless Raw to Rec.2020 color transfer in a fully color managed workflow.
- Special workflow for Long Term / Construction Timelapses.
- Powerful batch capabilities to edit and render multiple timelapses as fast as possible.
LRTimelapse is being used by the majority of timelapse photographers all over the world (see some outstanding work by LRTimelapse users on the demo page), because it enables them to use their favorite photographic tools (Lightroom Classic or Adobe Camera RAW) to produce time lapses with all the advantages and power that those tools offer for image editing.
To learn more about LRTimelapse and how it evolved, watch the documentary:
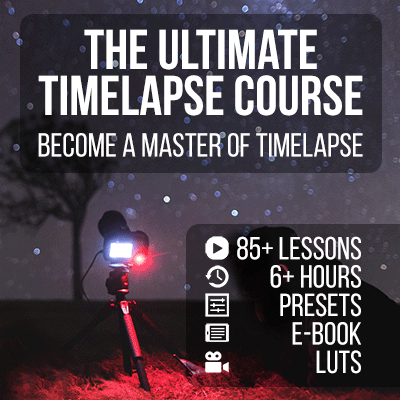
 Learn Time Lapse Photography and Editing
If you want to learn how to make time lapse movies from the beginning and avoid going yourself the hard way of trial and error, consider getting my EBook Time Lapse Photography. It’s a step by step guide for beginners, intermediates and even professionals and it covers the whole process of properly setting up the shooting until editing and exporting the film with LRTimelapse. It also covers special topics like Motion Control, Astro Photography etc.
 The LRTimelapse Pro Timer
The LRT Pro Timer is the perfect Intervalometer for your advanced timelapse work. It offers many advantages compared to standard intervalometers.
→ Check it out!
 qDslrDashboard
qDslrDashboard is a mobile app by Zoltan Hubai that tremendously helps when shooting day-to-night and night-to-day transitions in timelapse. Check out my special tutorial about how this works together with LRTimelapse.
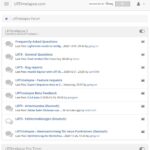 The LRTimelapse Forum
Please feel free to join the discussion in our forum. You will get help there if you happen to encounter any problems. You are also welcome to share your experiences and workflows there too.
LRTimelapse on Social Media
I will post news regarding LRTimelapse in the first instance via my newsletter. Also there is an LRTimelapse Facebook page and Twitter account. For more frequent updates follow me on Instagram too. My German Facebook Page is facebook.gwegner.de. Thank you!
Check out my Tutorials to learn more!
User voices
- Mega! My camera has an interval timer, but not as controllable as the LRT PRO Timer. So many advantages in a small device is insane! Also the display of how long the recording now lasts is great. Before I always had to calculate everything and that was annoying 😂. But the biggest magic then always takes place on the PC. Every time I’m surprised anew about the magic that LRTimelapse performs there 😍 – A big compliment! Updates are always available immediately – once even 2 times in one day and also on the weekend! That’s great! 😍 Despite the fact that I’m a trainee, it was so worth the money to me! 😊 (JP Media Creator)
- Amazing tool! I struggled for a while creating time lapses, and then picked up LRT 5. It transformed my world. It made me want to create even more time lapses. I just finished a huge job over months of time lapse across 3 different cameras. I didn’t want to upgrade in the middle of my project, (Big mistake!) I was processing over 800,000 pictures and doing overnight jobs. now that I have upgraded to LRT 6, I finally realize how much computer time I could have saved if I would have upgraded earlier. This is an amazing tool! Thank you so much for creating it and making regular updates! (Dennis)
- As part of the new NOVA series “Building Wonders of the World” I started researching how to pull off day-to-night timelapses, which led me to LRTimelapse. Your software has transformed the way I create every timelapse now! I wanted to let you know that LRT was behind all the timelapse. I created a showcase of all the timelapse shots you can see here. (Rob)
- “Just wanted to let you how thrilled I’m with the new version of LRTimelapse 4 !!! I love it. Its so easy now to fix up my messy shots… 🙂 The Visual Preview is the best feature. Without it everything took for ages, now i have the total control over my footage.” (Irek)
- “I don’t think there is anything you can do to make this software any better. I have been working on several TL’s just trials and the interpolation between key frames is “SPOT ON” it seems to be rendering faster… The Deflicker seems to be improved. I am succeeding it producing day to night TL with very little flicker. Everything is working awesome!” (Edward)
- “Gunther absolutely rocks! He’s single-handedly created one of the most useful pieces of filmmaking software in modern times and his personal support of it blows away anything being offered by larger software developers with more resources.” (Colin)
- “LRTimelapse 4 is a piece of software that EVERY time lapse photographer (amateur or professional) should purchase! It is packed with many useful features that have helped take my work to the next level. The software is also fairly intuitive, and easy to learn especially after watching the tutorial videos found on LRTimelapse.com. (Bryan Snider) – Check out his full review and personal story.
- “I went to your site, read, watched, examined and tried out the sample version of the software for many hours yesterday and was blown away. Even though I have never done a time-lapse before, I completely understood your tutorials and program and why it works. A run through with the sub 400 frame lapse with no keyframe wizard even produced a pleasing result. Thanks a lot man and I am stoked to try out the license and start adding these awesome lapse features to my video. Most importantly I wanted to say great job on everything about this program; templates, book and all. Rock On!” (Peter)
- “Instead of bramping in the field, I prefer to use an [application] called LRTimelapse to ramp exposures, reduce flicker and work with other parameters like white balance. (Shawn Reeder in a much recommended Outdoor Photographer’s article about time lapse photography.)
- “I’m a staff video producer at Newsday. Without your software, I personally don’t think it would be this easy and routinely successful. I just released a blog post about my journey to become successful in the creation of HG timelapses.” (Chris)
- In order to minimize the enormous time required for processing our long term time lapses, we rely on various methods and software solutions, primarily of which LRTimelapse by Gunther Wegner enormously accelerates these processes. (German Article by langzeit-zeitraffer.de)
- “Just wanted to say thanks for LRTimelapse. Have been using it occasionally for some time now but just recently have been using it all day every day. Fantastic work, much appreciated by myself and the time-lapse community as a whole.” (Mark)
- “LRTimelapse has saved me countless hours in my workflow. I used to do by hand what this program does in seconds. It is truly a godsend!” (Scott)
- “I now have the pro version, and if you are doing construction timelapse, it worth it for the select by criteria (to pick out the shadow shots) and the prores export saves another step, and the motion blur is a nice touch to have in the same step as well (for certain types of sequences. In this case it makes it look like all the structure built itself and there was just ghosts of construction workers and machines flying around. Nice effect.)” (Kieran)
- “Honestly, I would pay 10x the price you ask for this software but Im happy you continue to make our work look better than any other software there is with thoughtful major upgrades whenever Lightroom does the same. Kudos!” (Chris T.)
- “LRTimelapse is tremendous. I can’t say that enough. It is so obviously designed by someone who knows, first hand, what the problems are, and the tools you need to deal with them. The idea that any adjustment that can be quantified by a number can be smoothed between keyframes is inspired, because it works not only with exposure, but geometric corrections as well.” (Guy M.)
- “Thanks for LRTimelapse! I started using it yesterday and found it easy to use. Your video tutorials are the most valuable. Please keep up the good work.” (Steven)
- “LRTimelapse is a great program that is so much more powerful than it seems at first… It’s quickly become a very important part of my TL workflow…”
- “A HUGE thank you! LRTimelapse is pure gold, and is necessary and most worth it! This is the best Lightroom integration/standalone product for time lapses hands down!” (Ryan)
- “This is a wonderful software you’ve released for those who are passionate about timelapses.”
- “Since I’ve been using LRTimelapse my renders are now closer to what my eye sees than ever”
- “You’ve done more to improve T/L workflow than any other source I’ve found! Brill”
- “As I’m processing 7 timelapses from the last weekend, I can’t help but Thank You for the LRTimelapse software. Once again – WOW, what an amazing help, easy to use and fun, too :).” (Lu)
- “I really had no idea how terrible the rendering was out of After Effects until I rendered from LRTimelapse.” (Tracy)
- “Wow, I am so impressed with LRT4! The auto holy grail smoothing is brilliant. I spent so much time leveling out timelapse this is so simple. Well done Gunther!” (Jeeves)
- “I just did my first renders with LRTimelapse 4, and I just had to send you an email to thank you for this amazing software. This is truly an amazing tool and makes me eager to go shoot more timelapses, as your software makes the editing so easy!” (Atte)
- “Hi Gunther, just wanted to thank you for an awesome piece of software. So easy to use, and the information it provides you, makes it really easy to figure out what went wrong and what improvements you can make for the next time.” (Dominic)
- “I would like to sincerely thank you for creating LRTimelapse! Like for so many other time lapsers out there, this fantastic software has made my workflow a dream, and my precious LRTimelapse is as important to me as the rest of my photo gear. Without it I would be lost!” (Magnus)