Shooting a Lunar Eclipse in a timelapse is always a bit of a challenge: this is an event that happens only once each couple of years, so most photographers including me just do not have big practical experience. In this article I will explain, how I shot and edited it. And of course, I’ll show you my finished video.
Time Lapse of the Lunar Eclipse 2015
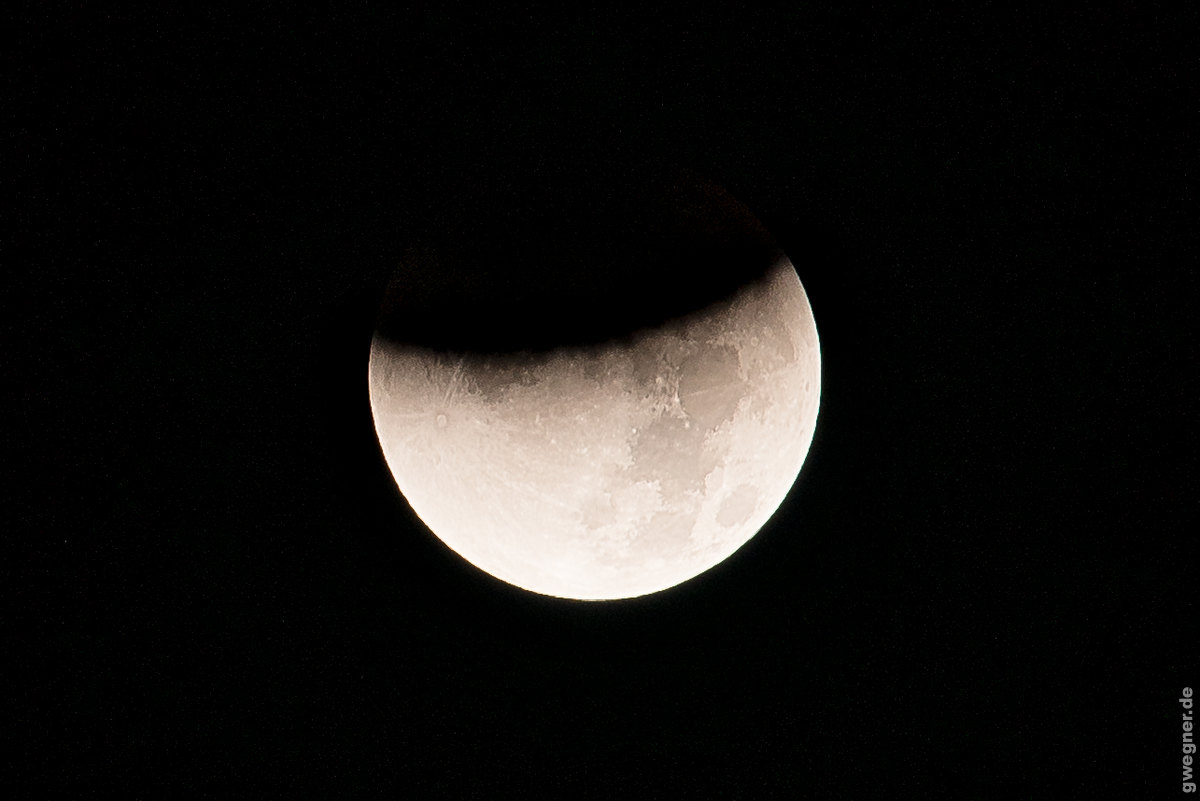
This time we were lucky here in Europe, we could observe the total lunar eclipse in the early morning of September, 28th – ending just half an hour before sunrise. This gave us the opportunity to see the moon setting at the same time that the sun rose right after the lunar eclipse finished.
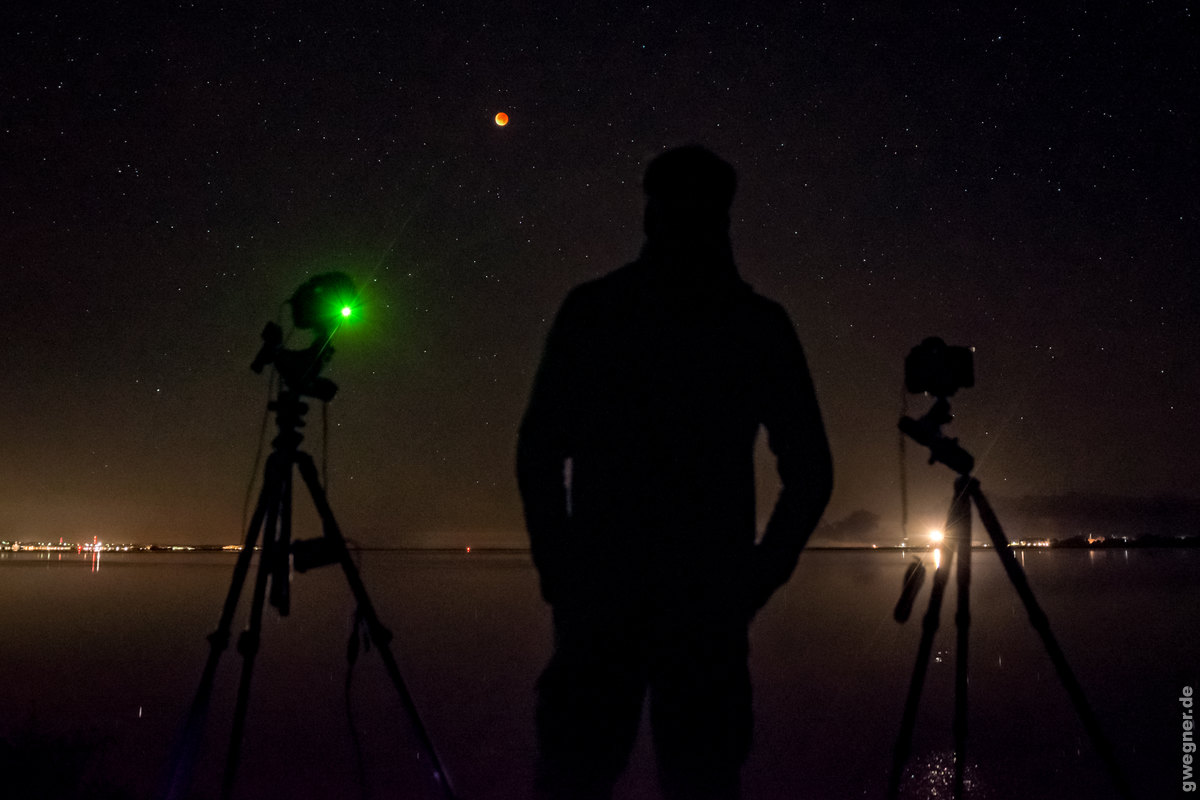
I’ve shot a sequence covering the whole eclipse with the Nikon 300mm f/4 PF on my Nikon D750. I used a Astro Tracker (MDK V5, similar to the Vixen Polarie) to track the moon. The second camera was shooting with the 35mm Sigma Art on the Polarie.
Despite of the tracking I had to readjust the position of the camera with the tele lens a couple of times because the tracking was not dead accurate over many hours, this is quite normal.
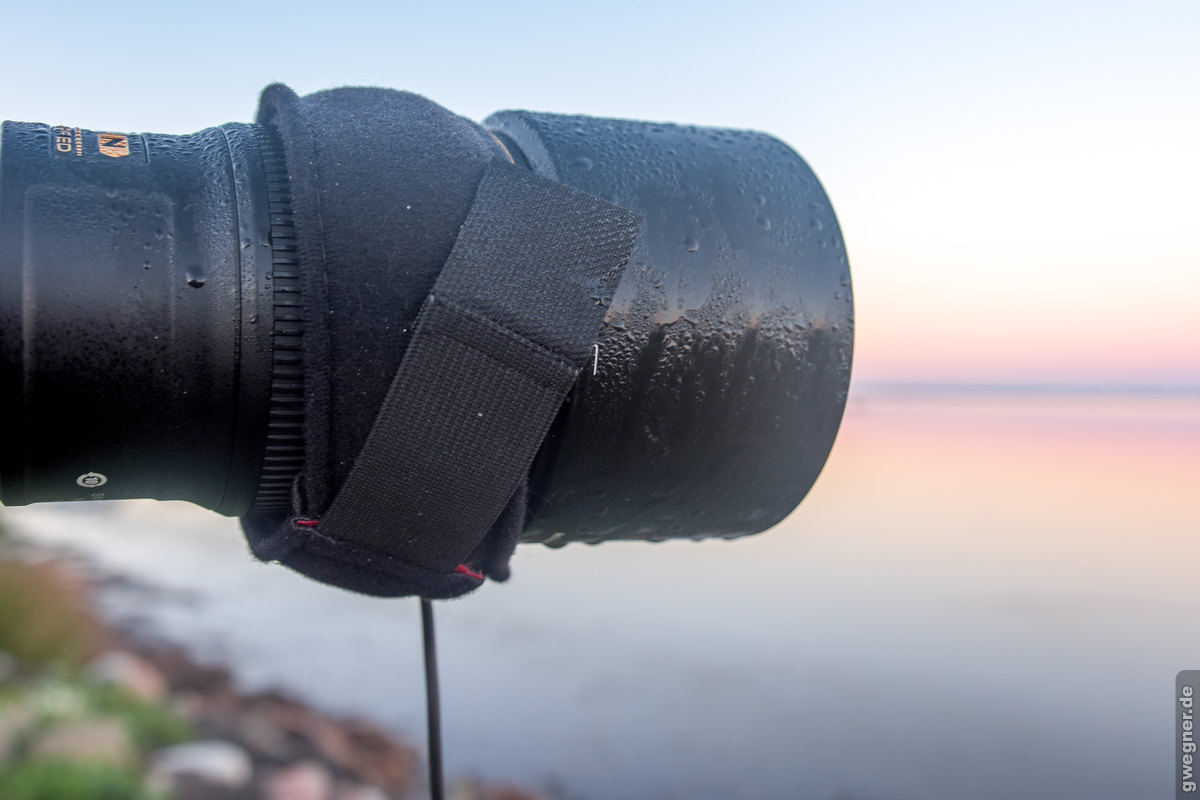
I’d some serious moisture to deal with so I was really glad that I had a dew-heater installed to the 300mm. With my other camera I had a lot of trouble due to the condensation.
Moisture dripping from my lens…
To compensate for the huge changes in brightness during the eclipse, I connected the D750 via Wifi to my Nexus 7 and used qDslrDashboard to do kind of a “Holy Grail” – but this time manually. While the Auto-Holy-Grail feature is perfectly suited to shoot Day-to-night and night-to-day timelapse, I didn’t know, how well it would perform with the lunar eclipse. So I did the ramping manually. For this, in the LRT Screen of qDDB I set a reference area to the moon in order to get a histogram of the moon area only.
This is the most difficult part to expose, because even the huge dynamic range of the D750 is not sufficient to cover the bright and dark area of the moon.
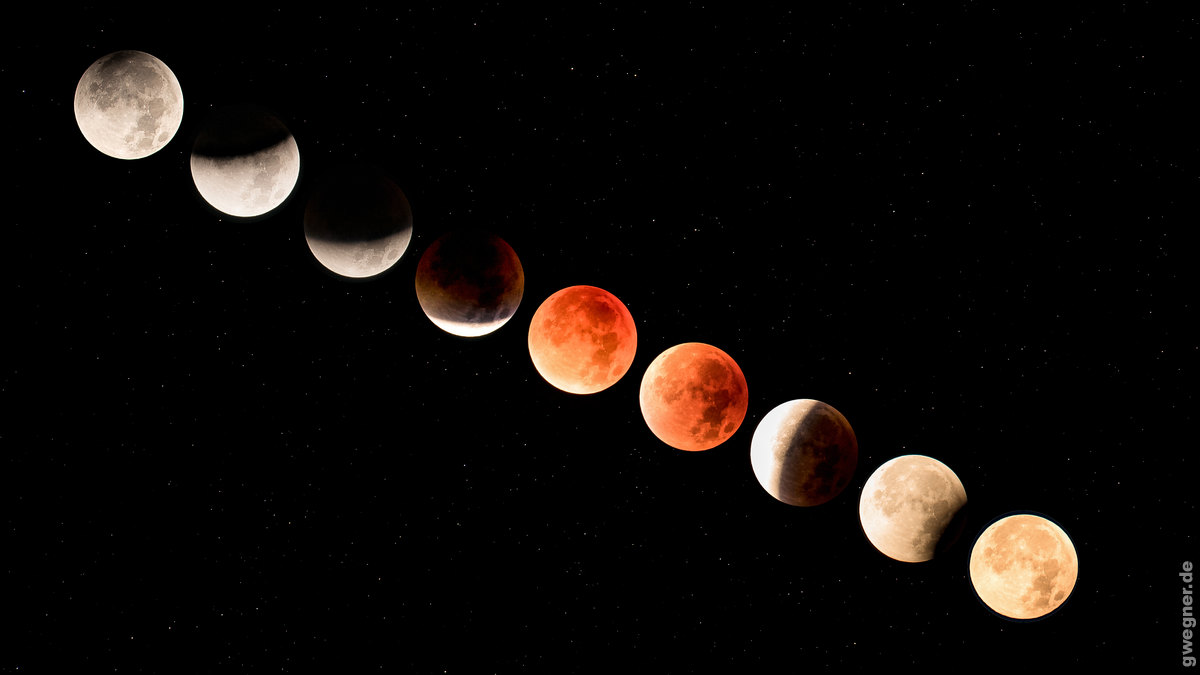
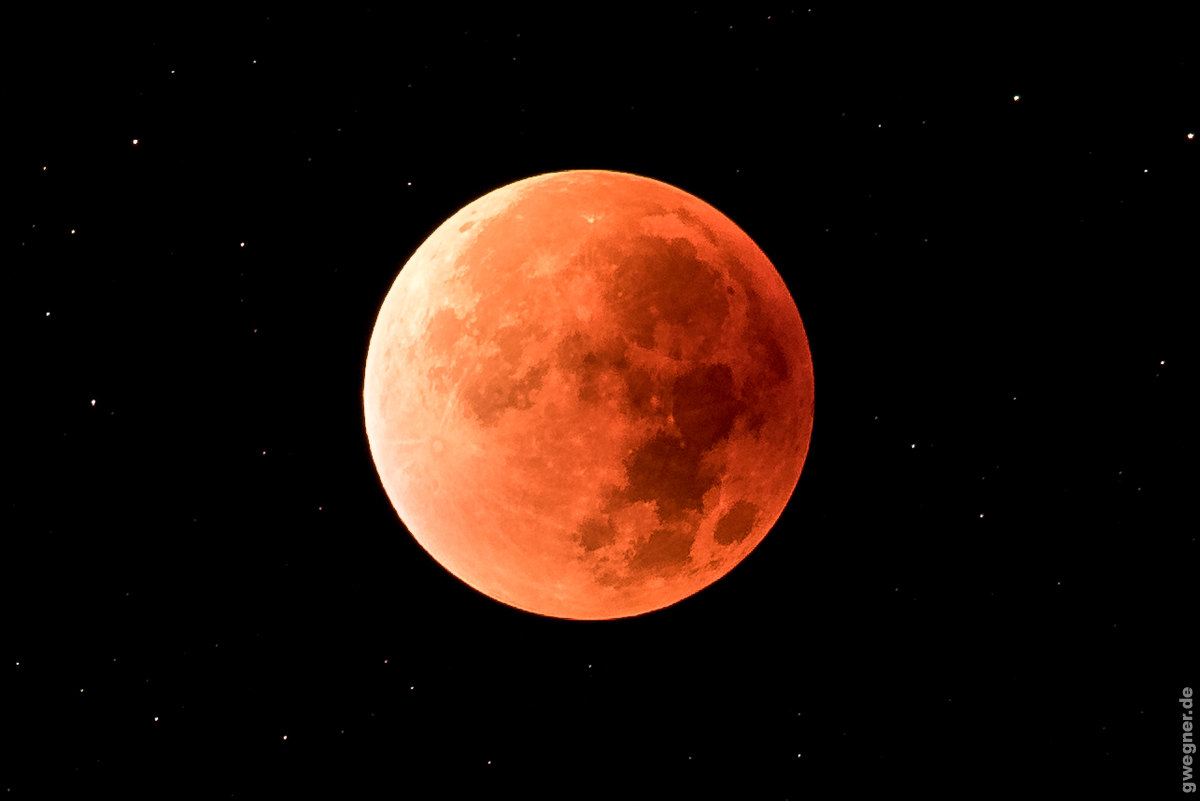
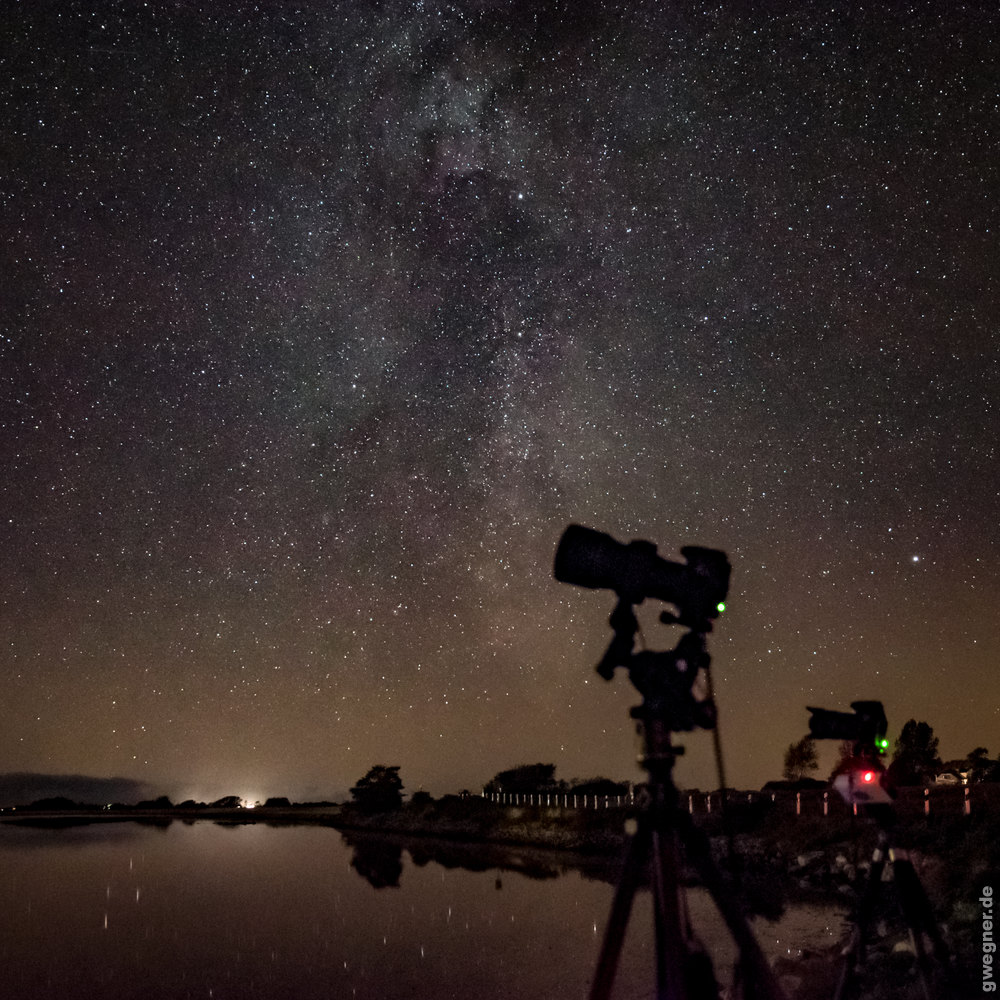
One of the most exciting things was to see how it got really dark when the moon was fully in the Earth’s shadow. Of course there were stars visible before, but at the time of the full coverage, the milky way was very well visible and apart from this – of course – the dim moon shining in a red color.
When fully shaded during the eclipse, the Moon reveals a nice red color
Milky way visible during lunar eclipse. Unfortunately this is only a behind the scenes JPG.
My Video
Please play back in full screen! https://vimeo.com/140905125
Editing the Lunar Eclipse Timelapse with LRTimelapse
This is how I’ve edited it in LRTimelapse in order to compensate for the brightness adjustments and to remove the Pans that I’ve done manually.
The following outline of my approach is for users who have already mastered the basics of LRTimelapse. For beginners, I recommend studying my ebook first, reading the instructions or watching my tutorials and try simpler sequences first.
First, I loaded the sequence into LRTimelapse, generated the keyframes with the “Keyframes Wizard” and then applied the “Holy Grail Wizard”. This already compensated for all the exposure and ISO adjustments that I had done while shooting.
Despite the automatic tracking, I had to shift the camera position a couple of times while shooting, to keep the moon in the frame. Therefore, now I searched for the places where I did the shifting and set a 5* keyframe (by pressing “5” in LRT) left and right of the shift. 5* keyframes are used to animate the crop of the images.
In Lightroom, then initially I edited the regular keyframes (4*) as usual from left to right (use the sync script!). To avoid seeing the 5* keyframes too at this stage, I set the filter to “=4*”. When editing, I did not the controls whites, blacks, shadows, highlights, clarity or dehaze. Instead I worked only with the exposure a a bit with the parametric tone curve. The background is that Lightroom would otherwise introduce severe contrast flicker on such sequences because they are highly dynamic and Lightroom does a context-sensitive editing when using the tools mentioned above. That means, even if the editing of all images is the same, Lightroom edit them differently according to their content. We already discussed this a couple of times in the forum.
Now I gave the very first and very last keyframe 5* and applied the filter to show only 5* keyframes (LRT4 KF Crop (5*)).
I’ve set a narrow crop to all keyframes. The size of the crop is going to stay constant, the position will be moved now. To get the crop to all 5* keyframes, I used Lightroom’s Synchronize feature, but made sure that there was only a checkmark for “Crop” – not for the other tools.
I went though all 5* keyframes and set the crop so that the moon was a the same relative position to the crop on each keyframe. You can use a post-it sticked to the monitor for this or use the guidelines that you can superimpose when hitting “o” when in crop mode.
Now set the filter to “Full Sequence” and Save Metadata for all files. Back in LRTimelapse: Reload and Auto-Transitions. The Auto-Transition now did the transitions on to levels: first the 4* keyframes (including first and last frame) for everything but the crop, and then the 5* keyframes only for the crop that will now hold the moon on one location.
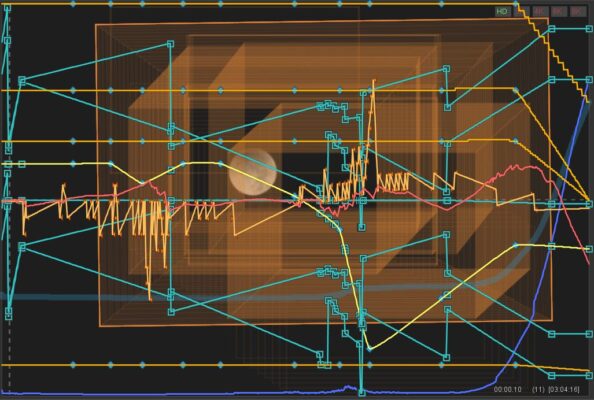
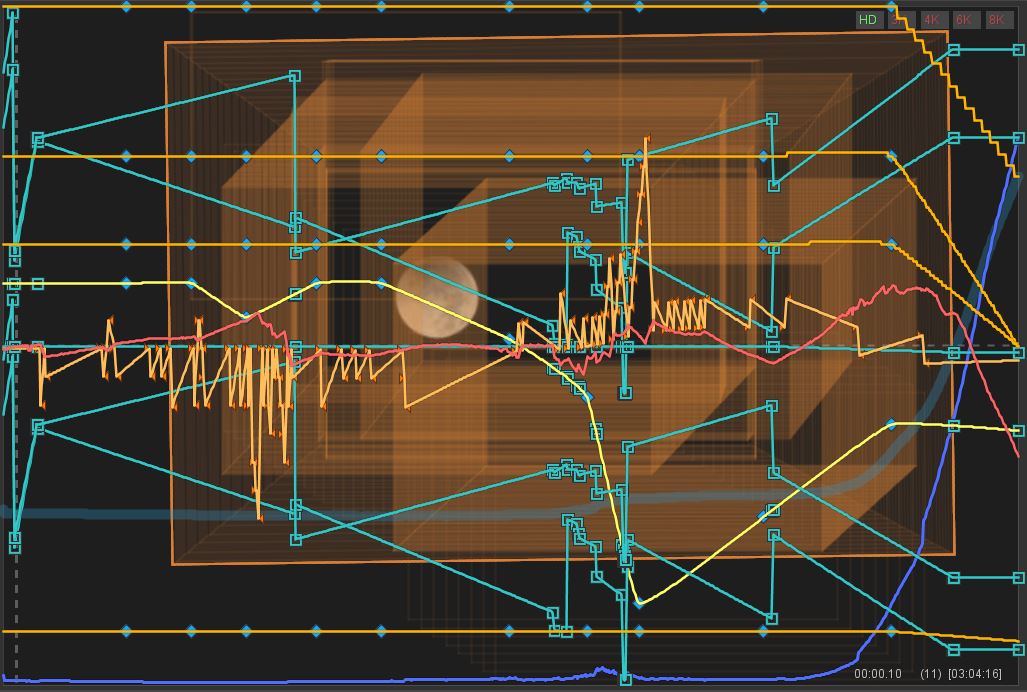
One last thing: the connection of the keyframes normally happens in smooth curves – but for the crop this is not the best solution. However there is a trick, how you can force LRTimelapse to use straight lines to connect the keyframes with the auto transition instead of curves.. To use it, got to the “Tools” tab, select “Individual transitions” and then “Custom”. Now set the “Slope” slider all the way to the right. Now it’s important to apply this to the Crop columns only, so right click on one of the crop column header in the table and then “Select Column (only this)”. This will set checkmarks only to the crop column headers. Now apply the Auto-Transition again. You can display all curves by clicking on “ALL” above the preview. You should now see straight lines connecting the crop curves (cyan) and smooth lines connecting all others.
Looks more complicated than it actually is… 🙂
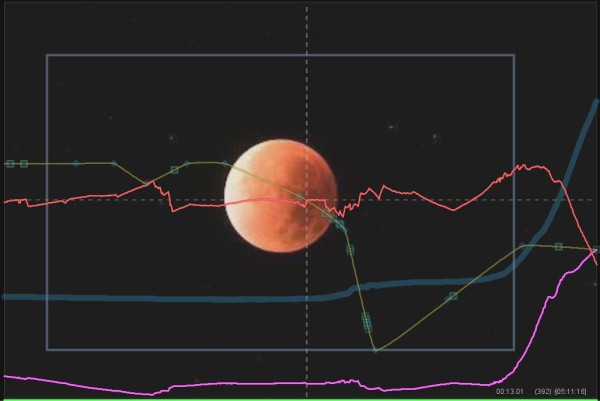
Done – now let LRTimelapse create the visual previews and apply some Visual Deflicker. Then finish the workflow as usual and output the video through LRTExport.
After applying Visual Deflicker the pink luminance curve is quite smooth.
As a last step, I loaded the generated clip into After Effects and stabilized it even more by using the tracker. From AE I exported a TIFF sequence, which I then again rendered with LRT Pro.
Northern Skies 4K (Cello Version, 2024) This is an update of my Film Northern Skies where the Cello in the Music track was played by Georg Roither, a professional cellist…
LRTimelapse 6.1 is ready for download! Hey guys, LRTimelapse 6.1 is out and I'm really excited about the new version. There are a couple of new features, improvements and fixes.…


")